How to set up the NSTrackingSeparatorToolbarItem in macOS 11
I have a small utility app that I am building using AppKit and as such I have decided to adopt the new look and feel of macOS 11 (Big Sur) and the new HIG.
So I decided to modify the tool bar of the app and adopt the new NSTrackingSeparatorToolbarItem which will give the app a very distinctive look. The following WWDC talk gives an overview of the new look and feel and what new controls are available in macOS 11. In the talk they go over the API for the new toolbar item, but not how to actually implement it in code, especially not if you are using Interface Builder.
This led me to an initial discovery, that unfortunately the tracking separator is still not available in Interface Builder, so I decided to go about it the old fashion way. And since I could not find any examples online on how to actually do this, I decided to write about it in case someone else finds themselves in my same situation.
The application contains an NSSplitViewController with three split views, a sidebar a NSOutlineView and a DetailsViewController, kind of like the default Mail app on the mac.
The NSTrackingSeparatorToolbarItem will have to track the separator between the outline view and the details view controller. And following the WWDC talk you need to pass the split view you want to track to the tracking separator at creation time, or at least before app is visible.
NSTrackingSeparatorToolbarItem
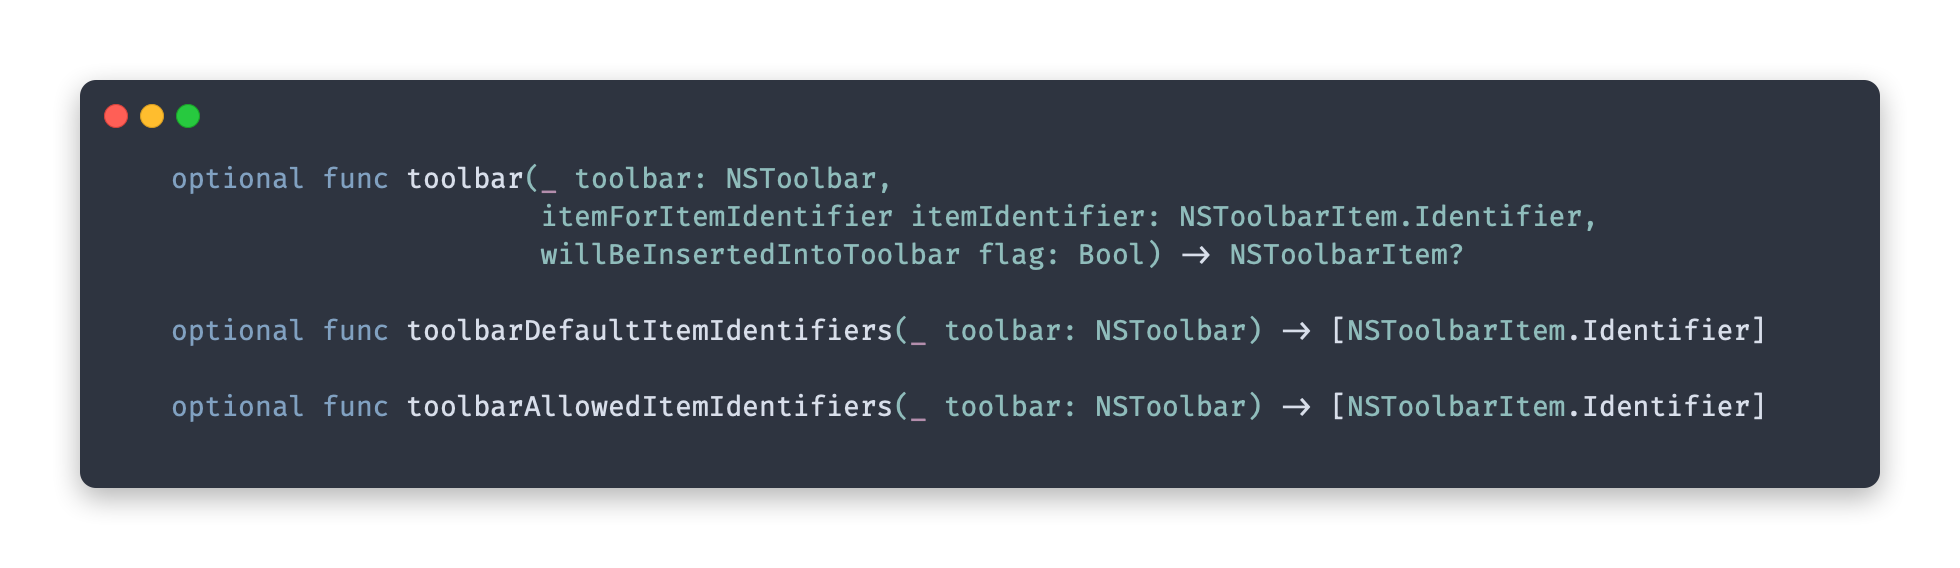
The tracking separator toolbar item has the following signature.
![]()
As such it is very easy to instantiate one as long as you provide the splitview on which it has to operate and the index of the divider it has to track.
There is not much more to it that this. There is though a visual aspect which is not covered by the WWDC talk. That is that when the split view divider, being tracked, goes above or below a certain width the tracking separator splits out and becomes static. I have asked on stack overflow if this was normal or if there is a way to inhibit this behavior. The question can be found here, but it seems that this is the standard behavior. You can easily reproduce it by using the Mail app or any other app that adopts the new look and feel. All you have to do is resize one of the split view dividers until the area of the split view is less than the width of the toolbar items.
The mistake I made was that my titlebar was initially transparent, which caused the weird behavior described in the StackOverflow question. Thus the important thing to remember is to set window?.titlebarAppearsTransparent = false and make sure to set the toolbar style to unified. This will fix the ugly divider line breaking out from the tracking item and give you the toolbar look and feel that is shown in the WWDC talk and the new HIG.
So let’s get our toolbar setup.
NSToolbarDelegate
To setup an NSToolbar I followed the following Apple tutorial with some modifications because I am using custom toolbar items. I decided to implement the toolbar directly in code, and not use IB, and to do so you simply need to implement the following functions, which will be called by the framework.
The delegate protocol contains several other functions which I will not go over here as they are not strictly relevant for the tracking separator.
So lets take a look at what I did. Let’s start by defining some new NSToolbarItem.Identifier which is how we will track the toolbar items I need.
private extension NSToolbarItem.Identifier {
    static let addItem: NSToolbarItem.Identifier = NSToolbarItem.Identifier(rawValue: "AddItem")
    static let trackingSplitItem = NSToolbarItem.Identifier(rawValue: "TrackingSplitItem")
    static let addToFavorites: NSToolbarItem.Identifier = NSToolbarItem.Identifier(rawValue: "AddToFavorites")
}
In the header files the identifier is defined as follows:
Initialize the toolbar item with an identifier which is a development language string used by the toolbar and its delegate for identification purposes.
Once that is done let’s go ahead and implement some of the other delegate functions, and let’s start by telling AppKit which items we would like to have by default on our toolbar.
We will also define an enum to define our toolbar item tags, used to identify the actual item in various situations.
enum ToolbarButtonItemTags: Int {
    case addItem = 1
    case addToFavorites
}
I use them in connection with the NSToolbarItem::validate() function to identify which toolbar item needs to be validated, but that is something for another post.
And so we can start implementing our delegate functions. The allowed items function indicates to the app which toolbar items are allowed on the toolbar, since there can be more items defined than actually visible on the toolbar when the app is launched. The default items function instead specifies which items are visible at app startup. In my case it’s the same items in both functions.
func toolbarAllowedItemIdentifiers(_ toolbar: NSToolbar) -> [NSToolbarItem.Identifier] {
    return [
        .addItem,
        .trackingSplitItem,
        .addToFavorites
    ]
}

func toolbarDefaultItemIdentifiers(_ toolbar: NSToolbar) -> [NSToolbarItem.Identifier] {
    return [
        .addItem,
        .trackingSplitItem,
        .addToFavorites
    ]
}
Now that our application knows which items we want to have in our toolbar, let go ahead and let the app know how to create each and every item we need.
This is done by implementing the next function, where I will also use the new SF Symbols so that my toolbar has a consistent look within macOS 11. I commented the code below to make it easier to understand the wall of text.
func toolbar(_ toolbar: NSToolbar,
             itemForItemIdentifier itemIdentifier: NSToolbarItem.Identifier,
             willBeInsertedIntoToolbar flag: Bool) -> NSToolbarItem? {

    var toolbarItem: NSToolbarItem?

    // 1) Lets provide the implementation for our add item button
    if itemIdentifier == NSToolbarItem.Identifier.addItem {

        // 1.1) Lets create the image for this button using the new SF Symbols
        let symbol = "plus"
        let image = NSImage(systemSymbolName: symbol, accessibilityDescription: symbol)

        // 1.2) Lets define our actual button, and set the style and action
        let button = NSButton(image: image!, target: self, action: #selector(onAddItem))
        button.bezelStyle = NSButton.BezelStyle.texturedRounded

        // 1.3) Let's call our helper function to instantiate the toolbar item
        toolbarItem =
            customToolbarItem(itemForItemIdentifier: NSToolbarItem.Identifier.addItem,
                                tag: ToolbarButtonItemTags.addItem.rawValue,
                                label: NSLocalizedString("add-item", comment: ""),
                                toolTip: NSLocalizedString("add-item-tooltip", comment: ""),
                                button: button)!
    }
    // 2) This is how we create the tracking separator, and we provide a reference to the splitview
    else if itemIdentifier == NSToolbarItem.Identifier.trackingSplitItem {
        toolbarItem = NSTrackingSeparatorToolbarItem(identifier: NSToolbarItem.Identifier.trackingSplitItem,
                                                    splitView: self.splitViewController().splitView,
                                                    dividerIndex: 1)
    }
    // 3) Lets provide the implementation for our add to favorites button
    else if itemIdentifier == NSToolbarItem.Identifier.addToFavorites {

        // 3.1) Lets create the image for this button using the new SF Symbols
        let symbol = "star"
        let image = NSImage(systemSymbolName: symbol, accessibilityDescription: symbol)

        // 3.2) Lets define our actual button, and set the style and action
        let button = NSButton(image: image!, target: self, action: #selector(onToggleFavorite))
        button.bezelStyle = NSButton.BezelStyle.texturedRounded

        // 3.3) Let's call our helper function to instantiate the toolbar item
        toolbarItem =
            customToolbarItem(itemForItemIdentifier: NSToolbarItem.Identifier.addToFavorites,
                                tag: ToolbarButtonItemTags.addToFavorites.rawValue,
                                label: NSLocalizedString("add-to-favorites", comment: ""),
                                toolTip: NSLocalizedString("add-to-favorites-tooltip", comment: ""),
                                button: button)!
    }

    return toolbarItem
}
And our helper function looks like this. This is a slim version of the function you can find on Apple’s developer documentation.
func customToolbarItem(
    itemForItemIdentifier itemIdentifier: NSToolbarItem.Identifier,
    tag: Int,
    label: String,
    toolTip: String,
    button: NSButton) -> NSToolbarItem? {

    let toolbarItem = NSToolbarItem(itemIdentifier: itemIdentifier)
    toolbarItem.tag = tag
    toolbarItem.label = label
    toolbarItem.paletteLabel = label
    toolbarItem.toolTip = toolTip
    toolbarItem.view = button

    // We actually need an NSMenuItem here, so we construct one.
    let menuItem: NSMenuItem = NSMenuItem()
    menuItem.submenu = nil
    menuItem.title = label

    toolbarItem.menuFormRepresentation = menuItem

    return toolbarItem
}
You might have noticed a reference to this function self.splitViewController() which is simply a convenience function that returns a reference to our split view controller. In my case it’s defined like this, but of course in your case it might be different.
private func splitViewController() -> NSSplitViewController {
    return self.contentViewController as! NSSplitViewController
}
And this is what you need to implement to get an NSToolbar working 😀.
The toolbar
So in the final part of this post we will look at the actual instantiation of the toolbar. Which is actually really simple but requires attention to one small detail.
I subclassed an NSWindowController and added the following code in the windowDidLoad override.
class MyWindowController: NSWindowController {

    override func windowDidLoad() {
        super.windowDidLoad()

        let toolbar = NSToolbar(identifier: NSToolbar.Identifier.myMainToolbar)

        // Note this line
        toolbar.delegate = self

        toolbar.allowsUserCustomization = false
        toolbar.displayMode = .iconOnly
        self.window?.titlebarAppearsTransparent = false

        // And note this line
        self.window?.toolbar = toolbar
    }

    private func splitViewController() -> NSSplitViewController {
        return self.contentViewController as! NSSplitViewController
    }
}

private extension NSToolbar.Identifier {
    static let myMainToolbar: NSToolbar.Identifier = NSToolbar.Identifier("MyMainToolbar")
}
At first my code wasn’t really working correctly and it was because of the order in which I set certain properties. Always remember to set the toolbar delegate = self as early as possible so you don’t forget. But at the same time remember to assign the toolbar to the window self.window?.toolbar = toolbar after you have set the delegate, otherwise you risk that your delegate functions will never be called.
If you find yourself wondering why sometimes your toolbar works, and other times your app has no toolbar at all, remember the order of assignment, as it is critical.
Conclusion
As you can see adding the new NSTrackingSeparatorToolbarItem is very simple, unfortunately it is still not possible to add it using only Interface Builder. Creating a toolbar in code is also fairly straight forward as long as you remember to implement the delegate functions correctly and assign the toolbar to the window as the last thing in your instantiation code.
See Also
-
macOS context menu from an NSButton
How to display a context menu when pressing an NSButton -
Fontawesome 5 in iOS as a UIImage
How to use Fontawesome 5 in iOS as a UIImage -
UILabel tap gesture in Swift
How to use a UILabel like a UIButton in Swift